Overview
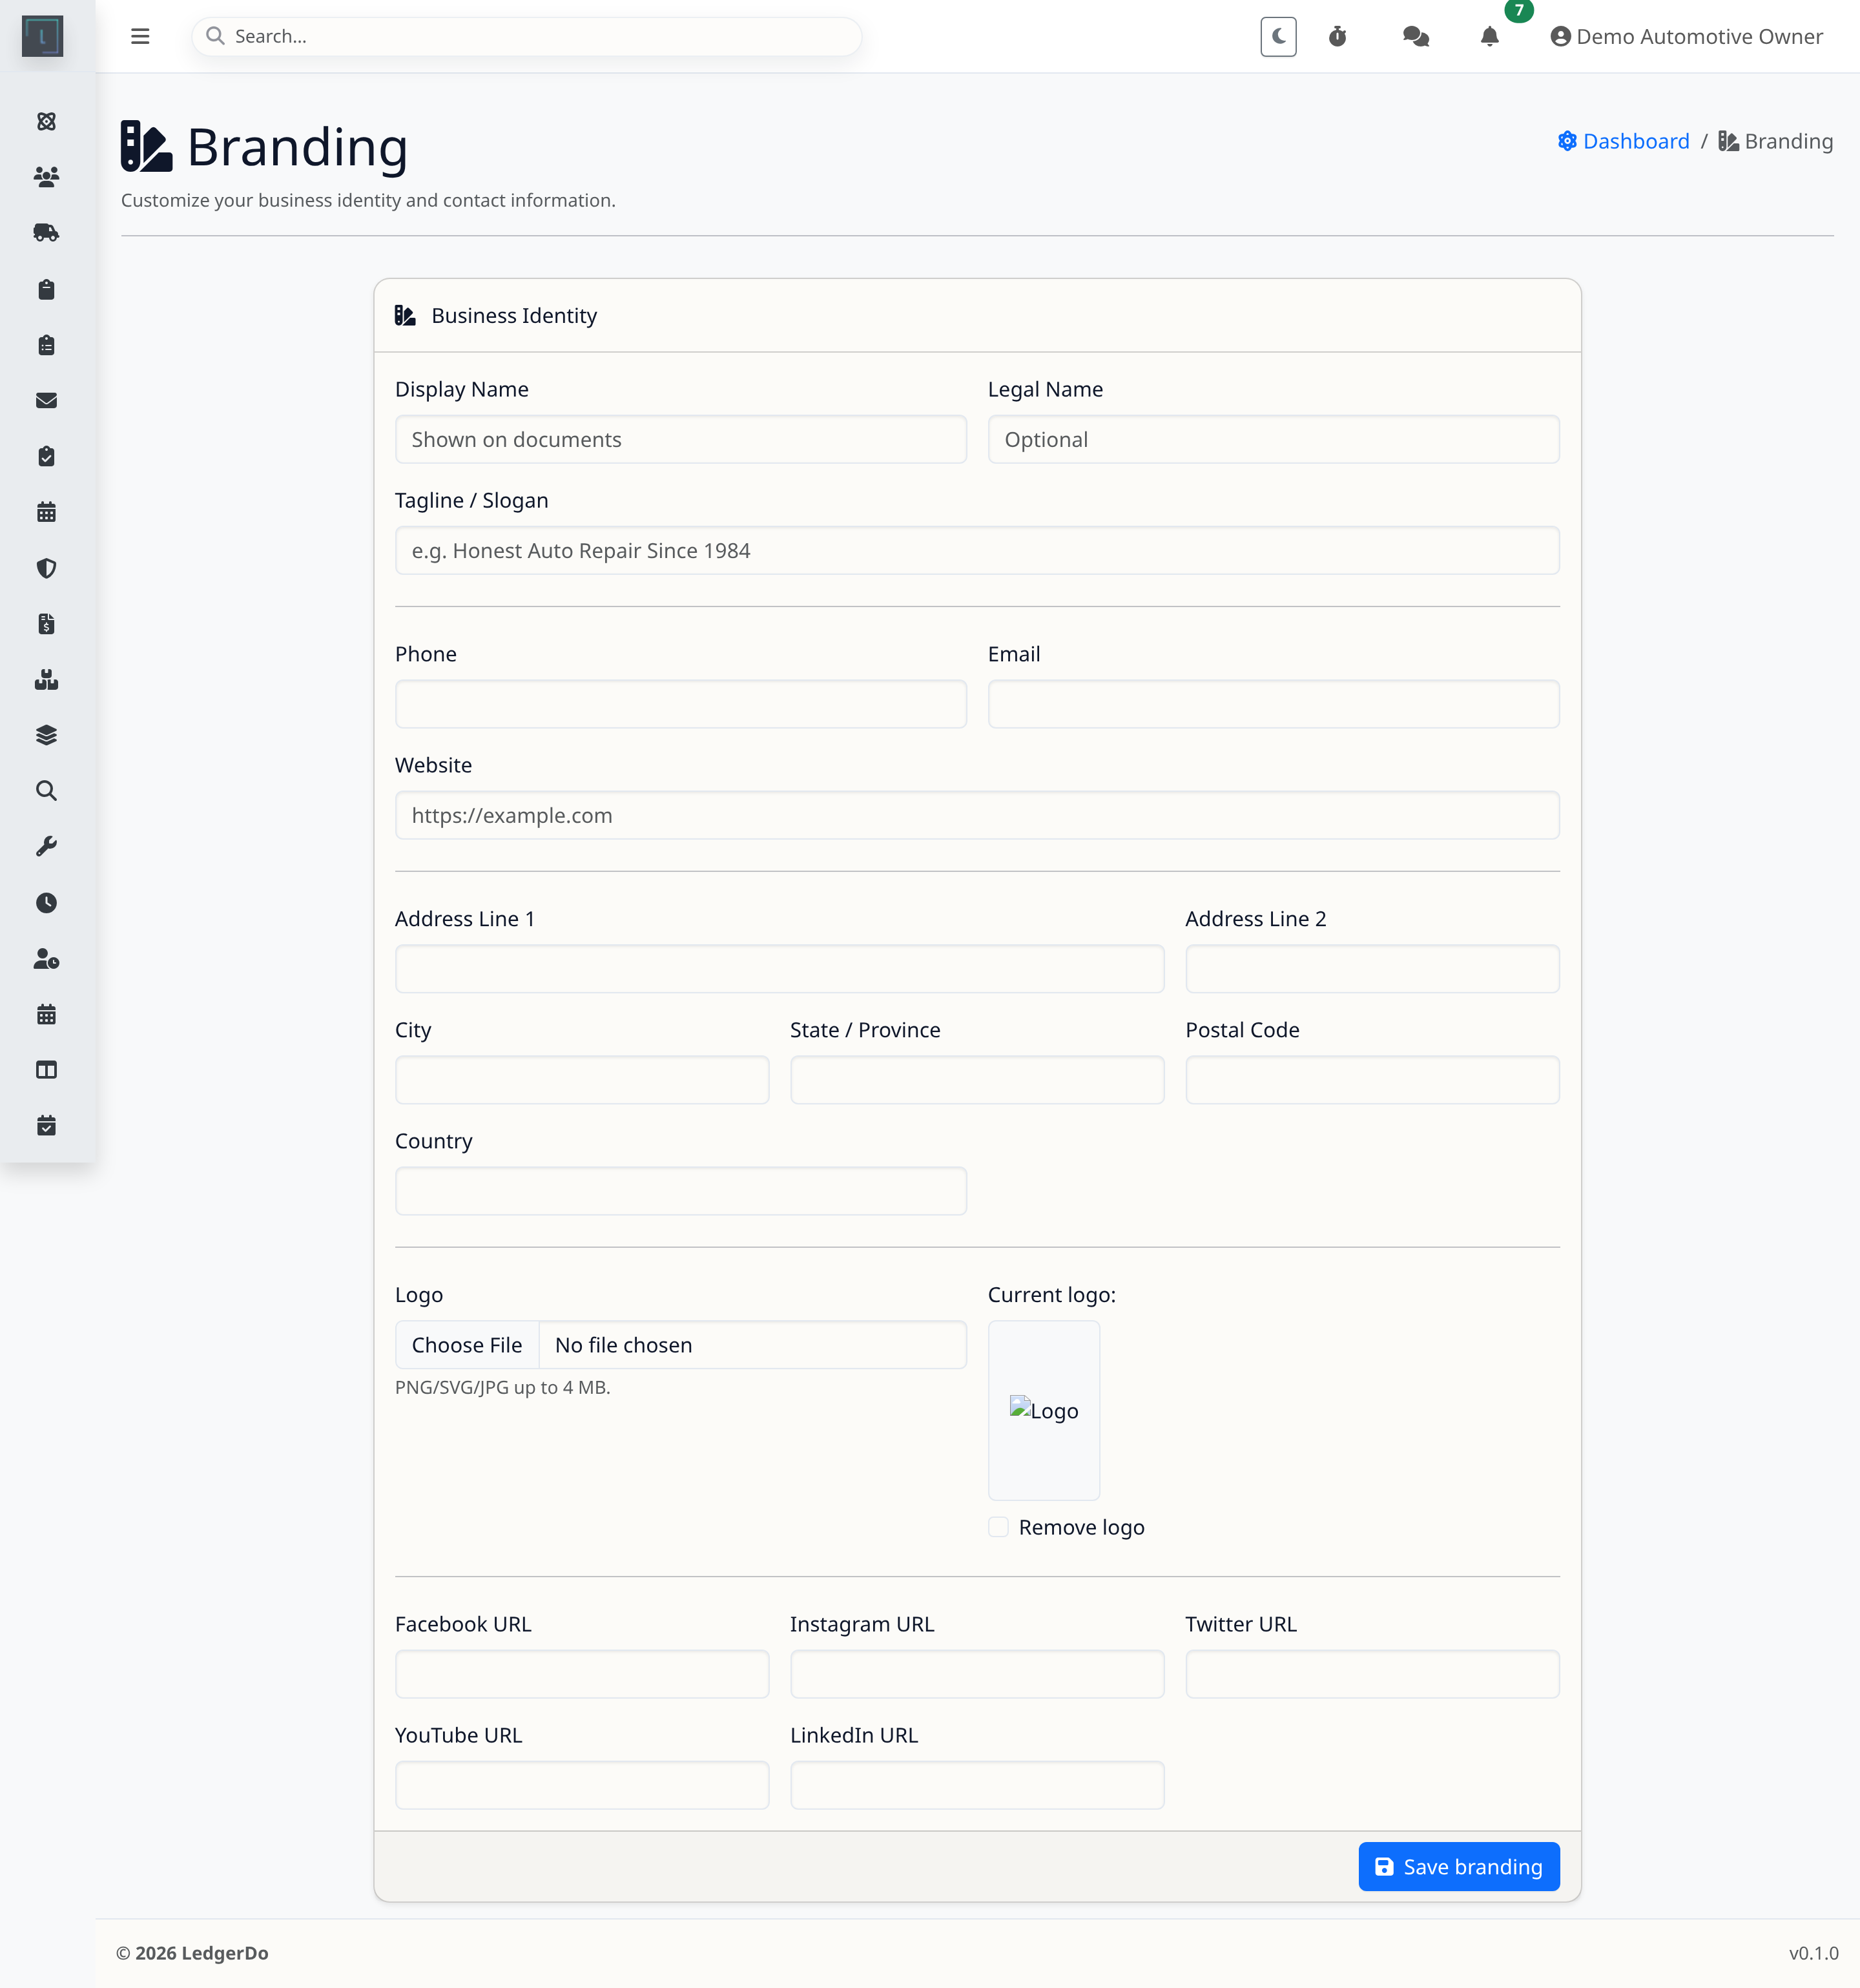
Your company profile controls the business identity customers see on invoices, estimates, portal pages, and notifications. It should be correct before you send anything customer-facing.
Before you begin
- Have your legal business name, trade name, support email, phone number, address, and logo ready.
- Confirm who on your team is responsible for approving customer-facing branding changes.
Steps
- Open the company settings area and review every visible contact field.
- Upload a clean logo with enough contrast to work on light backgrounds and printouts.
- Verify reply-to email addresses, support phone numbers, and any website or portal URLs.
- Save changes, then open a recent estimate or invoice preview to confirm the branding is correct.
- If your workflow uses printed documents, test both PDF and browser print views.
Tips
- Use one support email and one main phone number unless you have a clear reason to separate them.
- Keep your logo file lightweight so document previews and customer portals load quickly on mobile.
Troubleshooting
- If old details still appear, clear cached previews by reopening the document from the source record.
- If emails show the wrong sender or reply address, review mail and notification settings in addition to the profile page.
- If the logo looks blurry, replace it with a higher-resolution image that has extra whitespace trimmed.
Related articles
Need more help
If customer-facing branding still looks inconsistent after saving, include the document type and where the incorrect detail still appears when you contact support.